Blog / Car Maintenance

Blog

All Car Maintenance El Paso Lexus Dealer Fox Lexus of El Paso Lexus Models Around Town Lexus Hybrid Lexus RX Things to do in El Paso Lexus ES Lexus NX Lexus GX Lexus LX Lexus UX Lexus LC Lexus IS El Paso Lexus Service Fox Lexus El Paso Fox Lexus of El Paso Service Lexus LS Lexus RC Lexus TX Lexus hybrid SUV Lexus Hybrid Performance Lexus interior design Lexus models in El Paso 2024 Lexus TX Lexus Hybrid in El Paso Lexus RZ Texas Apple CarPlay© and Android Auto© High-End Interior Finishes Lexus GS TX UX Hybrid and NX Hybrid at Fox Lexus El Paso
Wax and Buff Car | Fox Lexus of El Paso in El Paso, TX

Tips for Effectively Waxing and Buffing Your Car

A good coat of wax does more than add a glossy finish to your car. It protects the paint from the damaging effects of weather and time. From technique to the right tools, you can learn a lot from this handy guide! Keep your car looking its absolute best with these tips for effectively waxing and buffing. Tools of the Trade It's important to assemble everything you're going to need for this job before you begin. Make sure to have the following items within reach: A hose (attached to a water source) A bucket filled with automotive or dish soap A clean, soft sponge Applicator pads A pair of chemical-resistant gloves Wax remover Heavy-duty "shop" paper towels Several microfiber cloths Drying towels or chamois A bottle of your favorite automotive car wax Step One: Wash Start by thoroughly washing your car. Rinse off as much dirt and debris as possible, and don't skimp on crevices where dust often hides. Once the surface is wet, fill your wash bucket with warm water and soap. Dip in a sponge and scrub off any remaining dirt, tar, and bugs. Work your way from the top of the vehicle down, and don't forget the wheels and tires. Do a final rinse to remove any soapy residue and dry your car thoroughly with a towel or a chamois. Step Two: Prep Now is the time to don your disposable gloves. Grab a few layers of shop towels and apply a dollop of wax remover directly on the sheets. Begin with one panel of the car, and begin rubbing. Move in a consistent direction over the clear coat, removing any remaining contaminants stuck to the paint. Step Three: Apply the Wax Grab your applicator pads and the wax. Start by reading the instructions on the back of the bottle. Most products apply similarly to how we'll describe. However, it's always good to study the manufacturer's tips before you begin. Shake the wax bottle well, then apply a nickel-sized layer on one side of the applicator pad. Just like you did with the wax remover, focus on one 2-foot by 2-foot section of the car at a time. Press gently but firmly on the car's surface, moving in a circular motion. Your mission here is to apply a thin film of wax across your vehicle's entire painted surface. Let it dry to a haze, then move on to the next section until you've coated the whole car. Step Four: Buff Once the car is covered in wax, use a dry microfiber towel to buff the finish. Make sure the wax is completely dry before you start rubbing. Using firm pressure and overlapping strokes, move from one area to the next, paying attention to crevices, like around the door panels. Switch to a clean cloth once the wax builds up on the towel. Now, you've conquered this tough job and you've got a shiny car! Thanks to your effort, its finish is protected for 12 months. Revisit this article when you need to wax it again next year! Image via pixabay.com | Licensed under Pixabay License
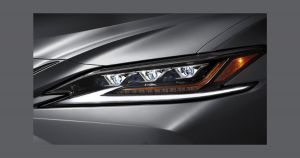
Lexus headlights | Fox Lexus of El Paso in El Paso, TX

How To Easily Change Your Car's Headlights

Your car's headlights are an essential piece of equipment. If a light bulb has gone out, you won't be able to see the road up ahead after dark. Not only is this a dangerous way to drive, but it may also lead to an unwelcome stop by a police officer. Use these tips to change your car's headlights and brighten your way easily. Check Which Bulb Is Out First, turn on your headlights to see which bulb is out. Try tapping the light with your fist. Sometimes the connections become loose due to road vibration, and this quick tip could make it come back on! If not, the filament is likely burned out and you’ll need to replace it. Gather Your Tools Of course, you're going to need a new light bulb. Check your owner's manual to ensure you purchase the right one for your vehicle. Your local auto parts store can also help you match the lamp with your car's make and model. You'll need a few alcohol wipes and some paper towels to clean and hold the new bulb, and you might need a screwdriver. Locate the Holder One of the most confusing steps in the process is how to access the bulb. Despite common sense, you'll get to it through your engine compartment, not the front of the car. For safety’s sake, turn your vehicle off and remove the keys from the ignition. Open your hood and look for the bulb holder. It's easy to spot thanks to the three-wire power connector that leads to the light. Remove the Power Wires Now that you've located the wires, you'll notice that they are attached to a plug at the base of the headlight. There are three main connector types: a plastic catch, a screw-off cap, or a metal clip. With a plastic catch, there's a little lever at the top. Push it down while you pull the plug out. With a cap, merely unscrew it by turning counter-clockwise. If you're working with a metal clip, hold onto it as you pull up and away. Remove the Broken Bulb Once you disconnect the wires, remove the back of the headlight holder with your screwdriver. Then, grab the bulb by the base and gently rotate it until it comes free. Install the New Bulb Use a piece of paper towel to handle the new bulb. You want to avoid getting oils from your skin on the glass surface. Clean it thoroughly with an alcohol wipe, then stick the new bulb into the base of the plug. Make sure the rubber gasket isn't showing. If it is, you haven't installed it correctly - pull it out and give it another go. Now that you've installed the bulb properly, you can put the holder back in place. Then, plug the power wires back in. Finally, test it by turning on your headlights. Replacing a burned-out headlight bulb is a relatively painless process. Use these steps to help you quickly remedy the problem, and you'll soon see the light! Image via lexus.com

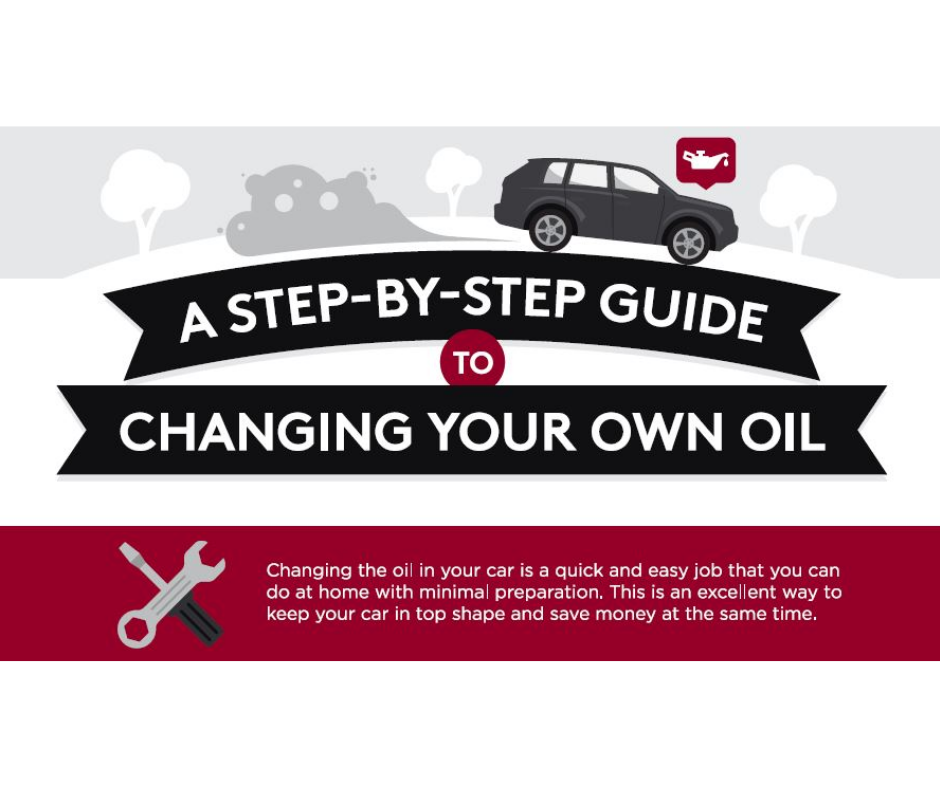
Change Your Oil | Fox Lexus of El Paso

How to Change Your Oil

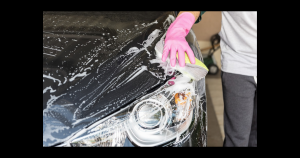
Washing your car | Fox Lexus of El Paso in El Paso, TX

4 Tips for Spring Cleaning Your Lexus

During the winter, most people are unable to handle many cleaning tasks outside the home, including cleaning their cars it’s just too cold! But with spring, you get an excellent opportunity to give your Lexus a thorough cleaning! Clean the entire vehicle's interior and exterior thoroughly to eliminate any mud and unwanted creatures. Here are some cleaning tips you can apply to ensure that your vehicle is clean in spring! Invest in Cleaning Tools With the right tools and materials, cleaning your car becomes easier and more effective. You should invest in a decent vacuum cleaner, several brushes of varying sizes, and several towels, sponges, and rags, as well as various cleaning products. These products should be recommended for cleaning different materials and surfaces, such as plastic, vinyl, leather, upholstery, and carpet. The ideal vacuum cleaner should have hoses that can stretch to reach hidden areas and carpets. The wiping and polishing materials include fine cloth rags, terry cloth towels, microfiber towels, and others. Cleaning your Car's Exterior Your Lexus’ exterior needs special attention to ensure that it's crystal from the top down. Use a soft sponge when cleaning the vehicle's body to avoid scratching your car's clear coat. It's also vital to rinse the body thoroughly to remove any cleaning detergent residues. When drying your car, use a scratch-free wash mitt or a microfiber cloth. Afterward, flush the underbody to loosen salt and protect your vehicle from rusting. Declutter your Trunk During winter, many car trunks become storage areas for essential items that help keep up with the extreme weather. When spring sets in, it's time to declutter your trunk; you don't need all these items in your car with the change of seasons. Besides, you'll reduce the weight your vehicle has to bear. Carpet and Upholstery When spring-cleaning your Lexus, it's vital to take care of the carpet and upholstery. Get all the removable car mats from your vehicle and clean the debris on the floor and upholstery using a brush and a dustpan. When you're through, use a vacuum cleaner to clean the surfaces. You must also vacuum the car mats before putting them back into your vehicle. If the carpet has sand marks or stains, remove them using a damp cloth and upholstery cleaner or a heavy-duty carpet cleaner for the stubborn stains. Cleaning the Wheels Wash your Lexus’ wheels thoroughly, using detergent, warm water, a scrubbing brush, and a damp cloth. Ensure that you've removed all dirt in the tire tread patterns. If you have the knowledge and adequate skills, remove the hubcaps and then clean and replace them. Use the right cleaner for your wheels to avoid damaging them. It's crucial to avoid cleaning your car wheels when they're hot to prevent injuries. Invest in several soft brushes for cleaning the hard-to-reach areas in the wheels. Detailing your Lexus’ interior and exterior after winter can take a long time, but the results will amaze you! Afterward, adopt a regular detailing program to maintain your vehicle's new appearance longer. Your car will also remain odorless and well-organized, keeping you healthy and comfortable. Image via pixabay.com | Licensed under Pixabay License
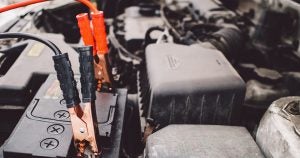
Jumper cables on a car battery | Fox Lexus of El Paso in El Paso, TX

How to Jump a Car Battery

Having a dead battery can seem like the worst thing of the day, but there's no need to feel discouraged. Follow these simple steps, and you'll be back on the road in no time. Gather your supplies: - a set of jumper cables - another vehicle, a charged battery or portable power unit - safety equipment, such as gloves and safety glasses 1) Identify the positive terminal on both batteries, marked with red. 2) In the vehicle with the dead battery, identify an unpainted metal surface that is not next to the battery. 3) Connect a positive (red) jumper cable clamp to the positive (red) post of the dead battery. 4) Connect the other positive (red) jumper cable clamp to the good battery’s positive (red) post. WARNING: Do NOT allow the positive and negative jumper cable clamps to touch once connected to a battery. This will generate sparks. 5) Connect the black (negative) clamp on that same end of the jumper cable to the negative (black) post of the good battery. 6) IMPORTANT: Connect the other negative (black) clamp to the unpainted metal surface under the hood of the car with the dead battery. DO NOT connect to the negative post of the dead battery – this could cause an explosion. 7) Start the good vehicle, allow it to run for about 5 minutes with the jumper cables connected. Attempt to start the disabled vehicle; if the engine won’t turn over, try repositioning the negative (black) jumper cable connected to the unpainted metal surface. Ensure the surface is clean so as to allow for a good connection. If the engine doesn’t turn over after a couple more minutes, try to race the good vehicle’s engine a little so the alternator delivers more amperage. 8) Once the dead vehicle has started, remove the jumper cables in the reverse order they were connected. Allow the vehicle to run for at least 10 minutes before turning off, to recharge the battery. Image via pixabay.com

Contact Us

Fill out this form below and we'll contact you shortly
*Required Fields